

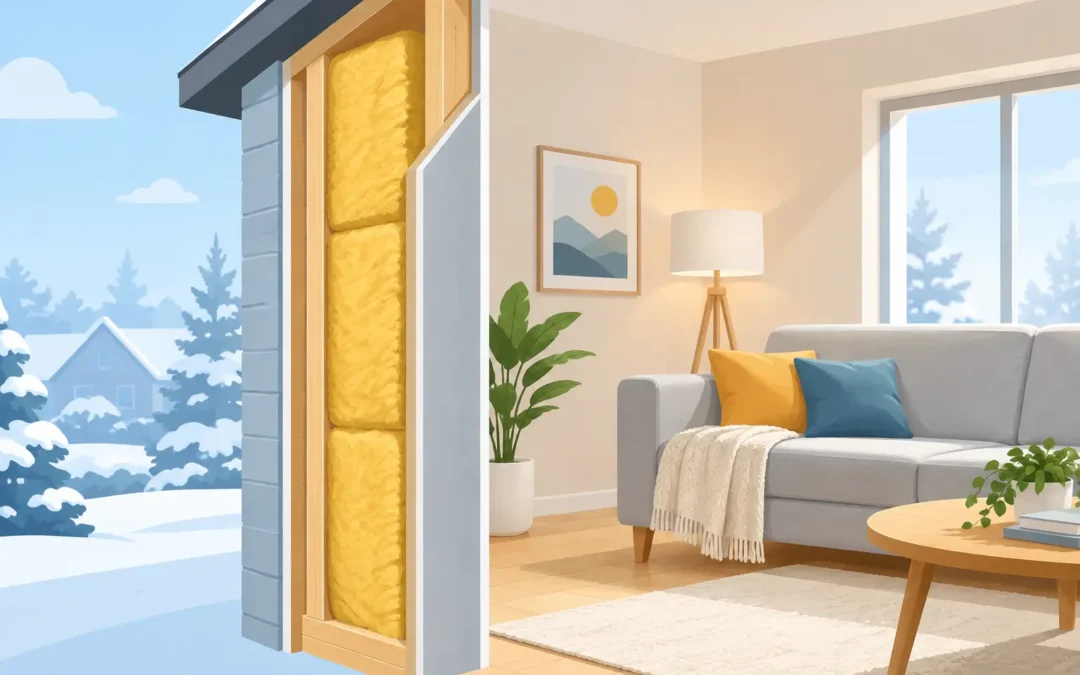
A room that stays hot long after the air conditioner turns on, a cold wall beside the bed, or a steady draft near an outlet can point to one overlooked problem: underinsulated exterior walls. This wall insulation guide explains how wall insulation works, when it is worth adding, and why the right solution begins with an inspection of the whole home – not just the wall cavity.
For homeowners in Southern California, wall insulation can make a meaningful difference in comfort and cooling costs. But insulation alone cannot correct a roof leak, rodent infestation, hidden plumbing leak, or poorly sealed attic. A lasting project identifies those conditions first, then protects the home with the appropriate insulation, air sealing, and moisture-control work.
What Wall Insulation Actually Does
Insulation slows heat transfer. In summer, it reduces the rate at which outdoor heat moves through exterior walls and into conditioned rooms. In cooler weather, it helps retain the heat your HVAC system has already produced. The result is a home that changes temperature more slowly and places less demand on heating and cooling equipment.
It does not create heat or cool air, and it is not a substitute for a properly functioning HVAC system. Its value comes from reducing unwanted heat flow so your home can hold a more stable indoor temperature.
Wall insulation also helps limit temperature differences across wall surfaces. That matters for comfort, but it can also matter for moisture. When warm, humid air meets a much cooler surface, condensation can form under the right conditions. Proper insulation and air sealing help reduce those conditions, particularly around exterior walls, plumbing openings, and other vulnerable areas.
Signs Your Walls May Need Insulation
Many older homes were built with little wall insulation, and some have cavities that were never insulated at all. Others have insulation that has settled, become wet, or been disturbed during previous repairs. You may not see the problem directly, but the house often gives clear signals.
Rooms facing west that become uncomfortably hot in the afternoon are a common example. So are bedrooms that feel colder or warmer than the rest of the home, even when supply vents are open. High utility bills, noisy street-facing rooms, cold or hot patches on interior walls, and frequent HVAC cycling can also justify a closer look.
Do not assume every comfort issue is caused by empty walls. Leaky ducts, insufficient attic insulation, disconnected bathroom exhaust ducts, damaged weatherstripping, and excessive attic heat can create similar symptoms. A professional evaluation should separate wall-related heat loss from the other conditions affecting the home.
Wall Insulation Guide: Choosing the Right Retrofit
The best approach depends on how the wall is built, whether the cavity is accessible, the existing insulation condition, and whether moisture or pest damage is present. In an existing finished home, drill-and-fill insulation is often the least disruptive way to improve an exterior wall.
With this method, a contractor creates carefully placed access openings from the exterior or interior, fills the wall cavity with an appropriate insulation material, then seals and repairs the openings. It can improve comfort without removing large sections of drywall. The exact drilling pattern and material selection should account for framing, fire blocking, wiring, plumbing, wall finishes, and local code requirements.
Open walls offer more options. If you are remodeling, repairing water damage, or replacing siding, batts or other insulation systems may be installed before the wall is closed. This can make it easier to address gaps around wiring, pipes, and framing, but open-wall work can be more invasive when no renovation is already planned.
The right material is not simply the one with the highest advertised R-value. The wall assembly must be evaluated as a system. A cavity with active moisture, rodent contamination, or damaged sheathing needs remediation before insulation is installed. Covering those issues can trap odors, conceal deterioration, and make future repairs harder.
Drill-and-Fill Insulation for Finished Walls
Drill-and-fill is especially useful in homes with finished drywall, plaster, or stucco where homeowners want a targeted retrofit. A qualified contractor first verifies that the cavity can be insulated safely and effectively. Walls may contain blocking, unusual framing, old insulation, electrical components, or moisture damage that affects the installation plan.
Access holes are typically patched after the cavity is filled, but finish matching varies by surface. Exterior stucco, wood siding, brick veneer, and interior drywall all require different repair considerations. A reputable contractor should explain where access is needed and what restoration is included before work begins.
This method can be highly effective, but it has limits. It will not solve significant air leakage through unsealed attic penetrations, an uninsulated roofline, failing windows, or a leaking duct system. It is one important part of home performance, not a stand-alone cure for every hot room.
Air Sealing and Insulation Work Better Together
Insulation slows heat movement. Air sealing stops uncontrolled air movement through gaps and openings. Homes need both.
Air can move through gaps around plumbing penetrations, electrical boxes, recessed fixtures, top plates, duct chases, and wall-to-ceiling transitions. Those leaks allow conditioned air to escape and can bring dusty attic air, outdoor pollutants, or humid air into living spaces. Insulation placed over an unsealed opening may reduce heat loss, but it will not stop the air pathway.
This is why attic and wall conditions should be considered together. In many homes, conditioned air escapes upward through ceiling gaps into the attic, while replacement air is pulled in through lower-level leaks and exterior walls. Addressing only one location may leave the pressure imbalance in place.
For the most reliable results, wall insulation should be coordinated with attic air sealing, adequate attic insulation, duct repairs where needed, and properly designed ventilation. The goal is a cleaner, more controlled building envelope that supports comfort without creating moisture problems.
Moisture, Mold, and Rodents Must Be Resolved First
Insulation should be dry, clean, and protected from ongoing intrusion. If a wall has a plumbing leak, roof leak, window leak, or exterior drainage problem, that source must be corrected before new insulation goes in. Wet insulation loses performance and can contribute to odors, mold growth, wood damage, and indoor-air-quality concerns.
Rodent activity also requires more than replacing material. Droppings, nesting, urine contamination, and chewed openings should be addressed through cleaning, exclusion, and repair. Otherwise, rodents can return to the same wall or attic and damage the new installation.
Mold should never be treated as a cosmetic stain alone. The underlying water source, affected materials, and extent of contamination determine the proper response. In some cases, the wall cavity needs to be opened for safe removal and drying rather than filled. A responsible contractor will not recommend insulation over an unresolved moisture or contamination issue.
What to Expect From a Professional Inspection
A useful insulation inspection looks beyond a single room. The contractor should ask about seasonal comfort, utility costs, odors, visible staining, past leaks, pest activity, and HVAC performance. They should assess the attic, accessible crawl space areas, ducts, ventilation, exterior penetrations, and the walls being considered for retrofit.
You should receive a clear explanation of what is known, what needs further investigation, and what work is recommended first. For example, a home with thin wall insulation and heavily contaminated attic insulation may need attic cleaning, rodent proofing, air sealing, and insulation replacement before or alongside wall work. A musty crawl space may need moisture control or a vapor barrier so the home is not continually exposed to damp air from below.
Ask how the contractor will protect finished surfaces, control dust, handle access holes, and verify the work after installation. Licensing, insurance, applicable code compliance, and warranty coverage are practical protections for any project involving concealed building cavities.
Is Wall Insulation Worth the Investment?
For a home with empty or poorly insulated exterior walls, the answer is often yes, especially when the homeowner is dealing with persistent hot rooms, uncomfortable temperature swings, or high cooling demand. The financial return varies with the home’s age, construction, HVAC use, utility rates, and the scope of related repairs. Comfort, quieter rooms, and less HVAC strain are often benefits homeowners notice first.
The investment makes the most sense when it is based on a real diagnosis. Adding insulation to a dry, properly prepared cavity can improve the daily experience of living in the home. Adding it without correcting leaks, pests, or ventilation deficiencies can leave the original problem hidden behind new material.
A careful inspection gives you the information to prioritize wisely. Whether wall insulation is the first step or part of a larger attic, crawl space, ductwork, or moisture-control plan, the goal remains the same: protect a healthier, more comfortable home for the years ahead.