

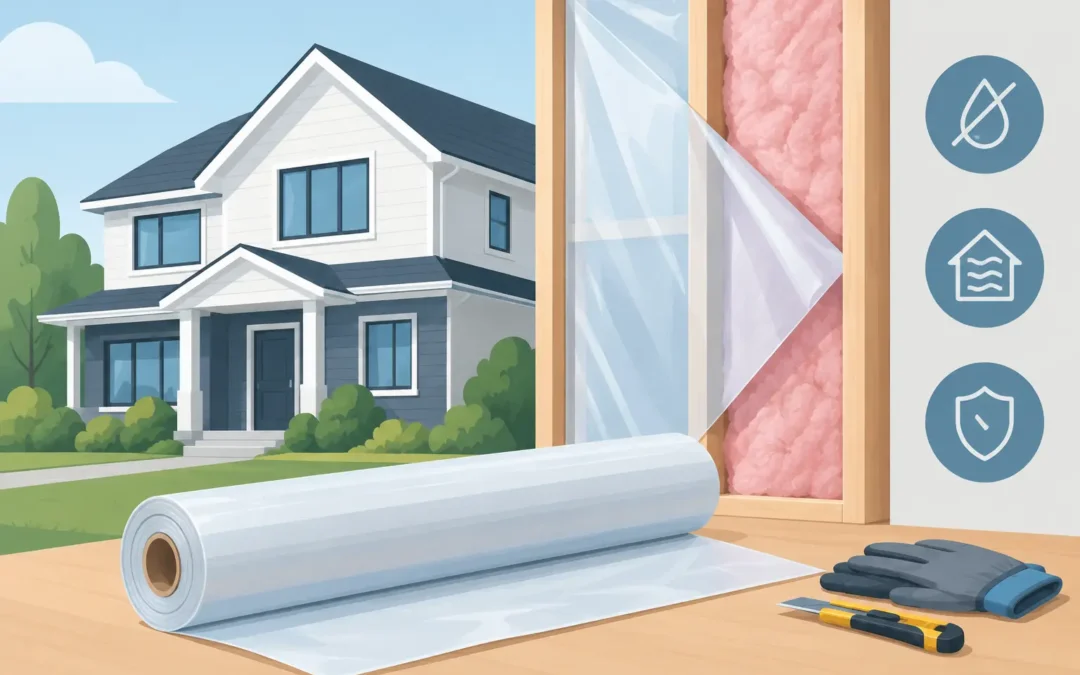
A vapor barrier can protect a crawl space from damp soil and musty air, but the wrong material or installation can trap water where it does not belong. Knowing how to choose vapor barriers starts with identifying the source of moisture, not simply rolling out plastic. For Southern California homeowners, that may mean ground moisture, a plumbing leak, poor exterior drainage, humid coastal air, or a combination of problems.
A properly selected vapor barrier is one part of a complete moisture-control system. It works with drainage, waterproofing, air sealing, insulation, ventilation, and sometimes dehumidification to protect framing, improve indoor air quality, and preserve the home’s value.
Start With the Area You Need to Protect
The term vapor barrier is commonly used for several different materials and applications. A ground cover in a crawl space does a different job than a vapor retarder installed behind drywall or beneath flooring. Choosing by name alone can lead to the wrong solution.
In a crawl space, the primary purpose is usually to block moisture evaporating from exposed soil. Water vapor can rise through the ground, collect in the crawl space, and contribute to damp wood, mold growth, insulation damage, and pest activity. Because air from the crawl space can move upward into the living area, this moisture may also affect indoor air quality.
For walls, ceilings, and floors, the question is more complicated. The correct location and permeability of a vapor-control layer depend on the wall assembly, climate, insulation type, exterior finish, and local code requirements. An interior vapor barrier that makes sense in a cold climate may create a drying problem in a mild Southern California home. This is one reason wall moisture control should be evaluated as a complete assembly rather than treated as a one-material fix.
Identify the Moisture Source Before Selecting Material
A vapor barrier cannot stop standing water, roof leaks, broken plumbing, or runoff flowing toward the foundation. Covering the ground before addressing these conditions can conceal the problem while moisture continues damaging the structure.
During a crawl space inspection, look for damp earth, puddling, wet foundation walls, white mineral deposits on masonry, stained wood, rusted metal, detached duct insulation, mold-like growth, and a persistent musty odor. Also check whether gutters discharge close to the house, grading slopes toward the foundation, or plumbing lines show signs of leakage.
If groundwater or surface water is entering the crawl space, drainage or waterproofing may be needed before the vapor barrier is installed. If moisture is mainly rising from bare soil, a sealed ground vapor barrier is often an effective part of the solution. If condensation is forming on ducts or pipes, insulation, air sealing, ventilation adjustments, or dehumidification may be necessary as well.
How to Choose Vapor Barriers by Thickness and Durability
For crawl space ground coverage, polyethylene sheeting is common because it resists water vapor and can be sealed at seams and edges. Thickness matters, but thicker is not automatically better if the material is poorly installed or the underlying moisture issue remains unresolved.
Thin plastic can tear easily when installers crawl across it, when stored items are moved, or when sharp debris is left on the ground. Once punctured, it no longer provides consistent protection. A more durable membrane costs more upfront but can be a better long-term choice for crawl spaces with regular service access, uneven soil, or frequent maintenance needs.
When comparing materials, consider these practical factors:
- Thickness and puncture resistance: The barrier should hold up to the condition of the crawl space and expected foot traffic.
- Seam sealing: Overlaps alone are not enough for a sealed system. Seams should be properly taped or otherwise sealed for the material being used.
- Wall attachment: In an encapsulated crawl space, the material may extend up foundation walls and be mechanically fastened and sealed.
- Compatibility with repairs: Access points for plumbing, HVAC equipment, and foundation work should be planned so the barrier can be restored after service.
A contractor should remove sharp rocks, construction debris, rodent waste, and contaminated materials before installation. Installing a new membrane over debris creates weak points and leaves health or sanitation concerns underneath.
Decide Whether You Need Ground Coverage or Full Encapsulation
Basic ground coverage places a vapor barrier across the crawl space floor to reduce moisture coming from the soil. This can be appropriate when the crawl space is otherwise dry, drainage is working, and there are no major signs of mold, water intrusion, or structural damage.
Full crawl space encapsulation is more comprehensive. The membrane covers the ground, seals seams, extends up walls where appropriate, and works with closed or controlled vents, air sealing, insulation, drainage, and often a dehumidifier. It is generally considered when the crawl space has recurring humidity, visible mold, odors, wet insulation, rodent contamination, or persistent moisture damage.
The trade-off is cost and scope. Full encapsulation requires careful planning because closing off outdoor air without controlling humidity can make conditions worse. It should never be treated as plastic on the ground plus a closed crawl space door. The system must account for moisture load, conditioned air pathways, combustion equipment, drainage, and code requirements.
Consider Your Home’s Ventilation and HVAC Conditions
Older homes often have vented crawl spaces, based on the idea that outdoor air will dry the area. In many conditions, that assumption does not hold. Warm, humid outdoor air entering a cooler crawl space can condense on cool surfaces. Coastal and marine-influenced areas can be especially susceptible during certain weather patterns.
At the same time, sealing vents without an approved moisture-control strategy is not a safe shortcut. The right approach depends on the home’s design and what is located in the crawl space. Gas appliances, ducts, exhaust pathways, and access requirements all need professional review.
Damaged or uninsulated HVAC ducts can add to the problem. Cold air leaking from ducts may create condensation, while return-side leaks can pull dusty crawl space air into the heating and cooling system. Resolving vapor issues without addressing duct defects can leave comfort and air-quality problems behind.
Do Not Ignore Mold, Pests, or Damaged Insulation
A vapor barrier protects against future ground moisture. It does not remove existing mold, rodent droppings, nesting material, dead animals, or contaminated insulation. It also does not repair wood that has already deteriorated.
If a crawl space has signs of rodent activity, the entry points should be identified and sealed before clean materials are installed. Otherwise, rodents can damage the new membrane and recontaminate the space. Where mold is present, the underlying moisture source must be corrected and affected materials should be evaluated for proper remediation.
This complete approach matters because crawl space conditions are connected. Damp insulation loses performance, wet wood attracts pests, and persistent odors can move into the home. A clean, dry, sealed crawl space supports better energy efficiency, healthier indoor air, and a more durable structure.
Verify Code, Access, and Installation Details
Local building requirements can affect vapor-barrier thickness, placement, fastening methods, venting strategies, insulation, ignition protection, and crawl space access. Requirements may differ based on whether the project is a repair, a full encapsulation, or part of a larger remodel.
Ask the contractor how the material will be installed at seams, around piers, at foundation walls, and near access doors. Ask how water drainage, plumbing access, duct repairs, and future maintenance will be handled. A professional plan should make it clear that the membrane is not covering up a problem.
For homeowners in Los Angeles, Orange, Ventura, and Riverside counties, conditions can vary considerably from a dry inland property to a coastal home exposed to cooler, more humid air. An on-site inspection provides more reliable guidance than choosing material from a store shelf based on thickness alone.
The right vapor barrier is the one that fits the moisture conditions of your home and is installed as part of a lasting solution. When the crawl space is dry, clean, protected from pests, and designed to manage humidity, the benefits extend well beyond the space beneath your floor.